Test Instructions
1.Power on the board

Development boards
2. Binding with Android phone
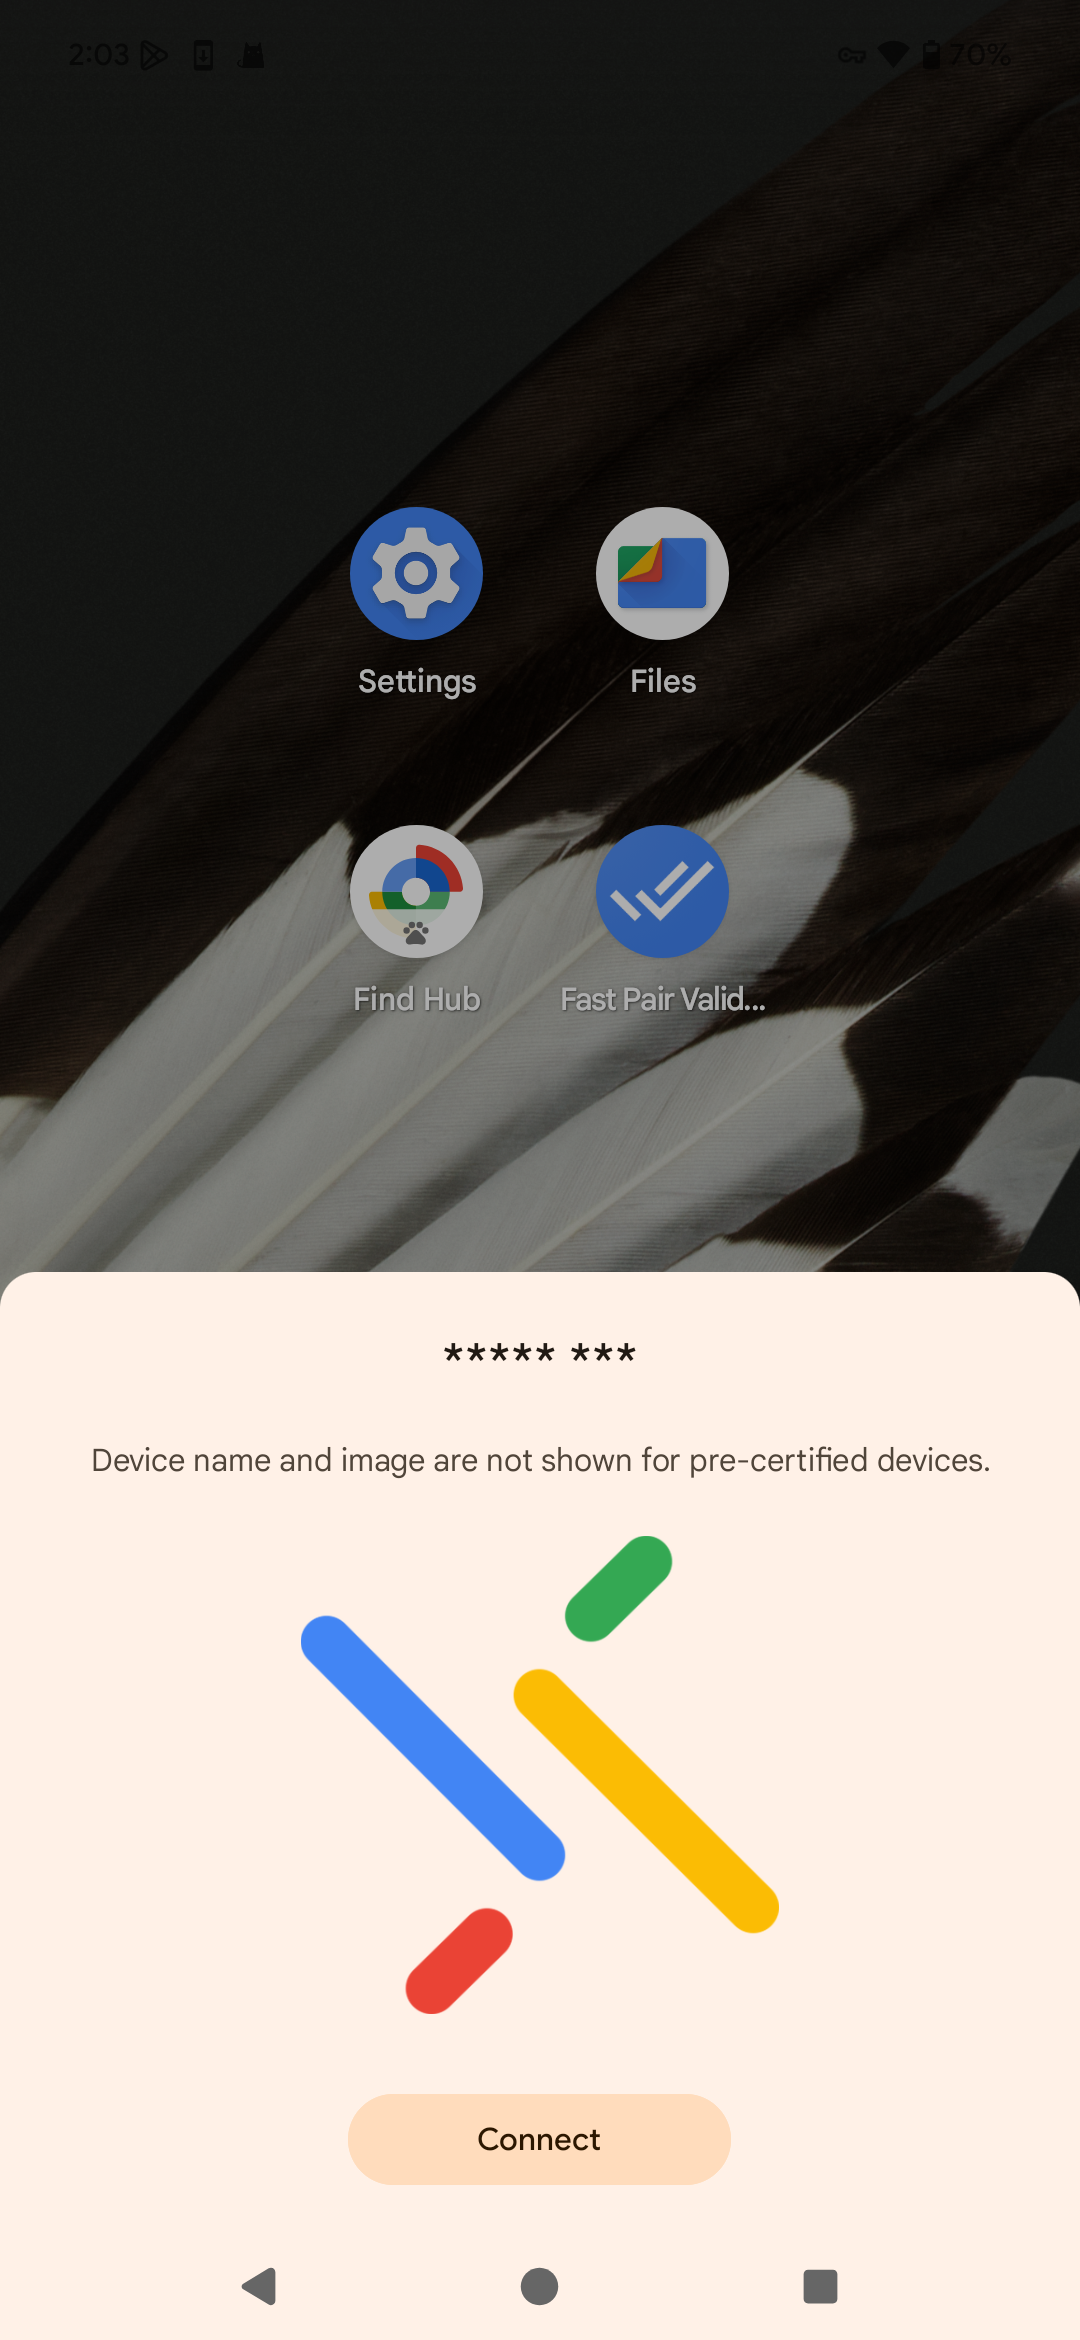
Notification
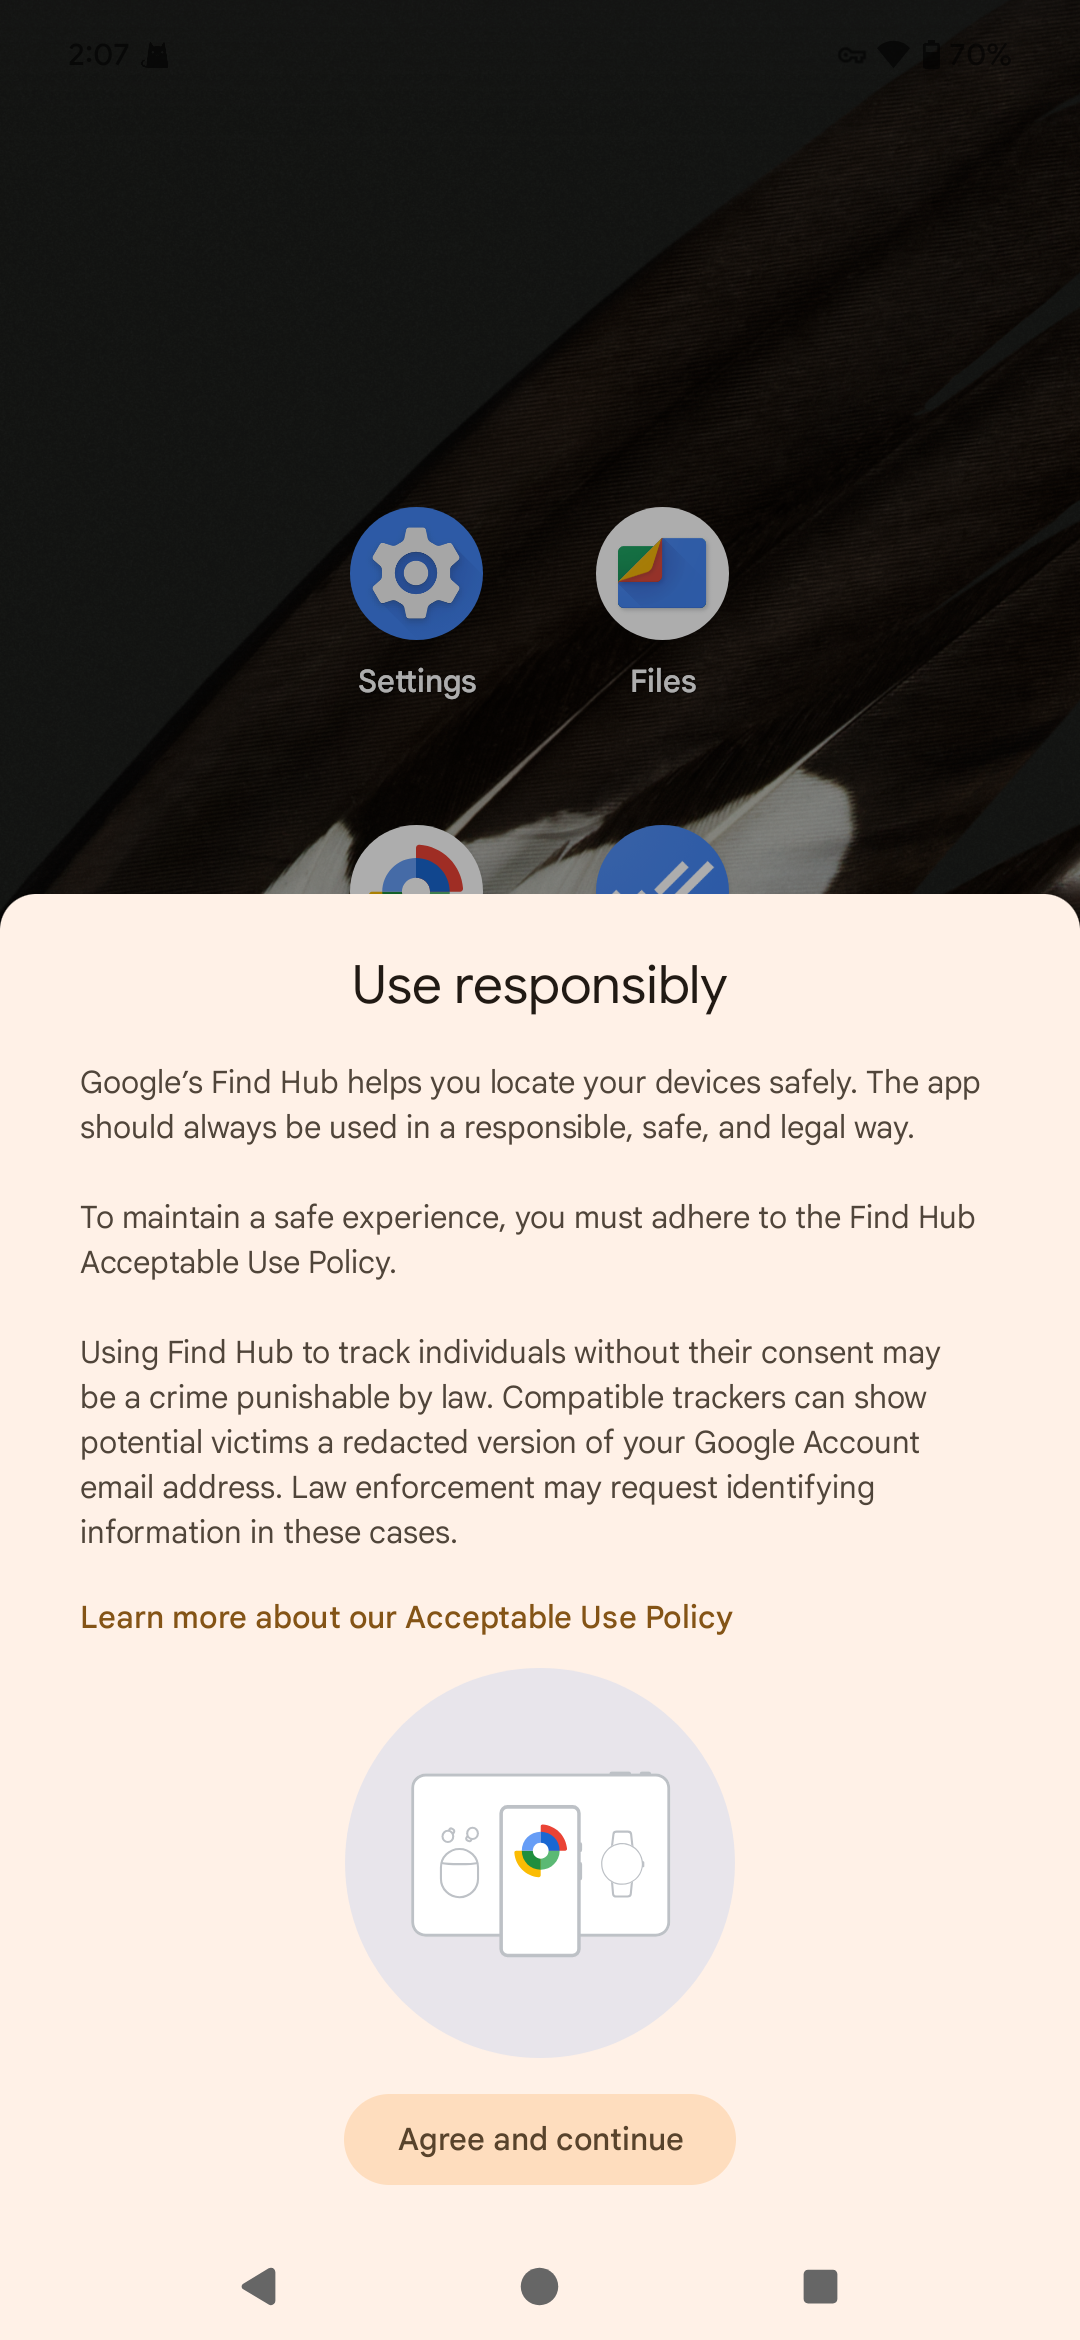
Use responsibly Policy
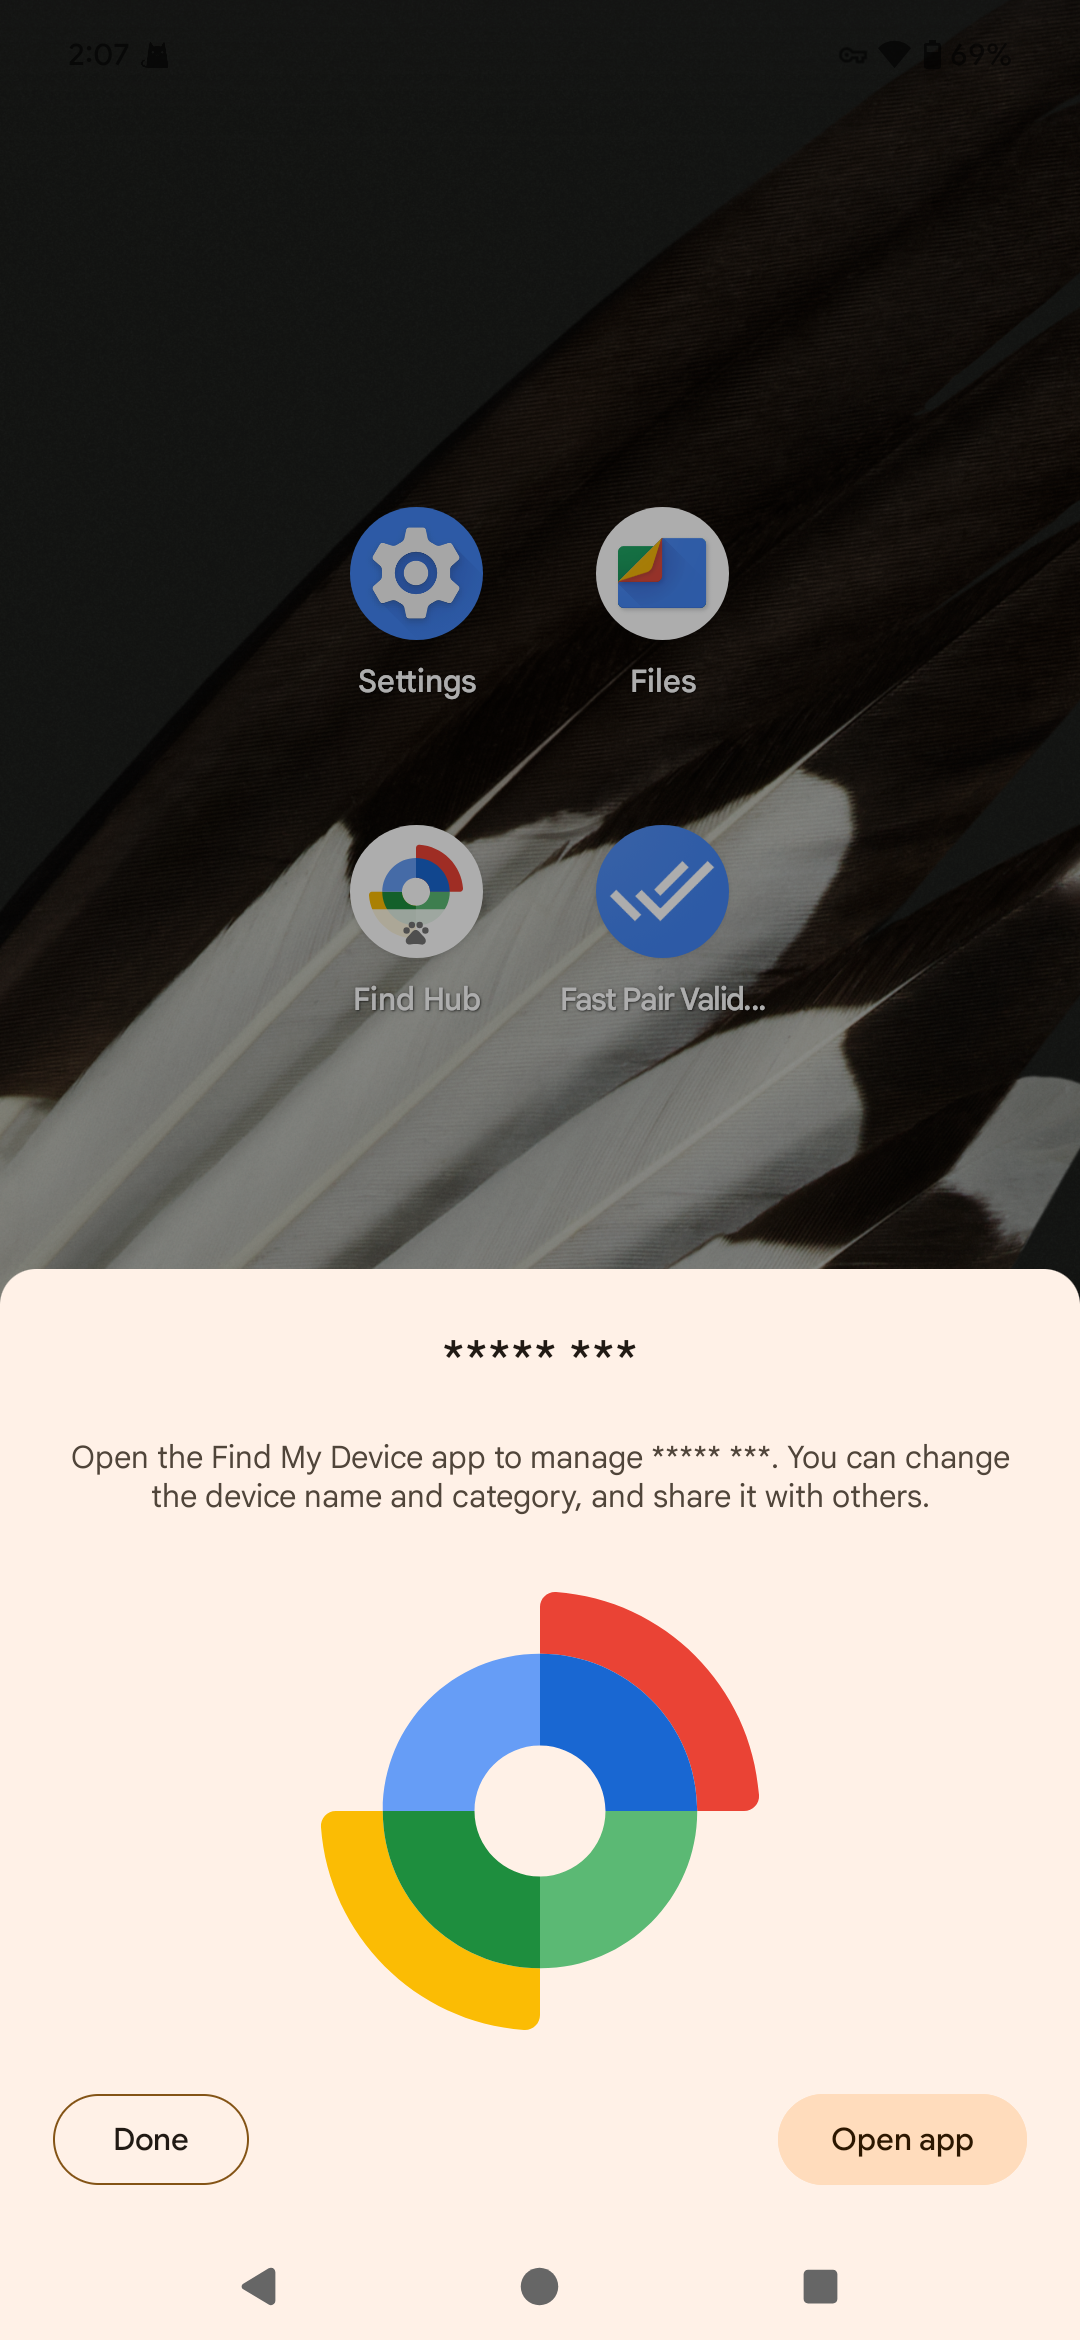
Binding complete
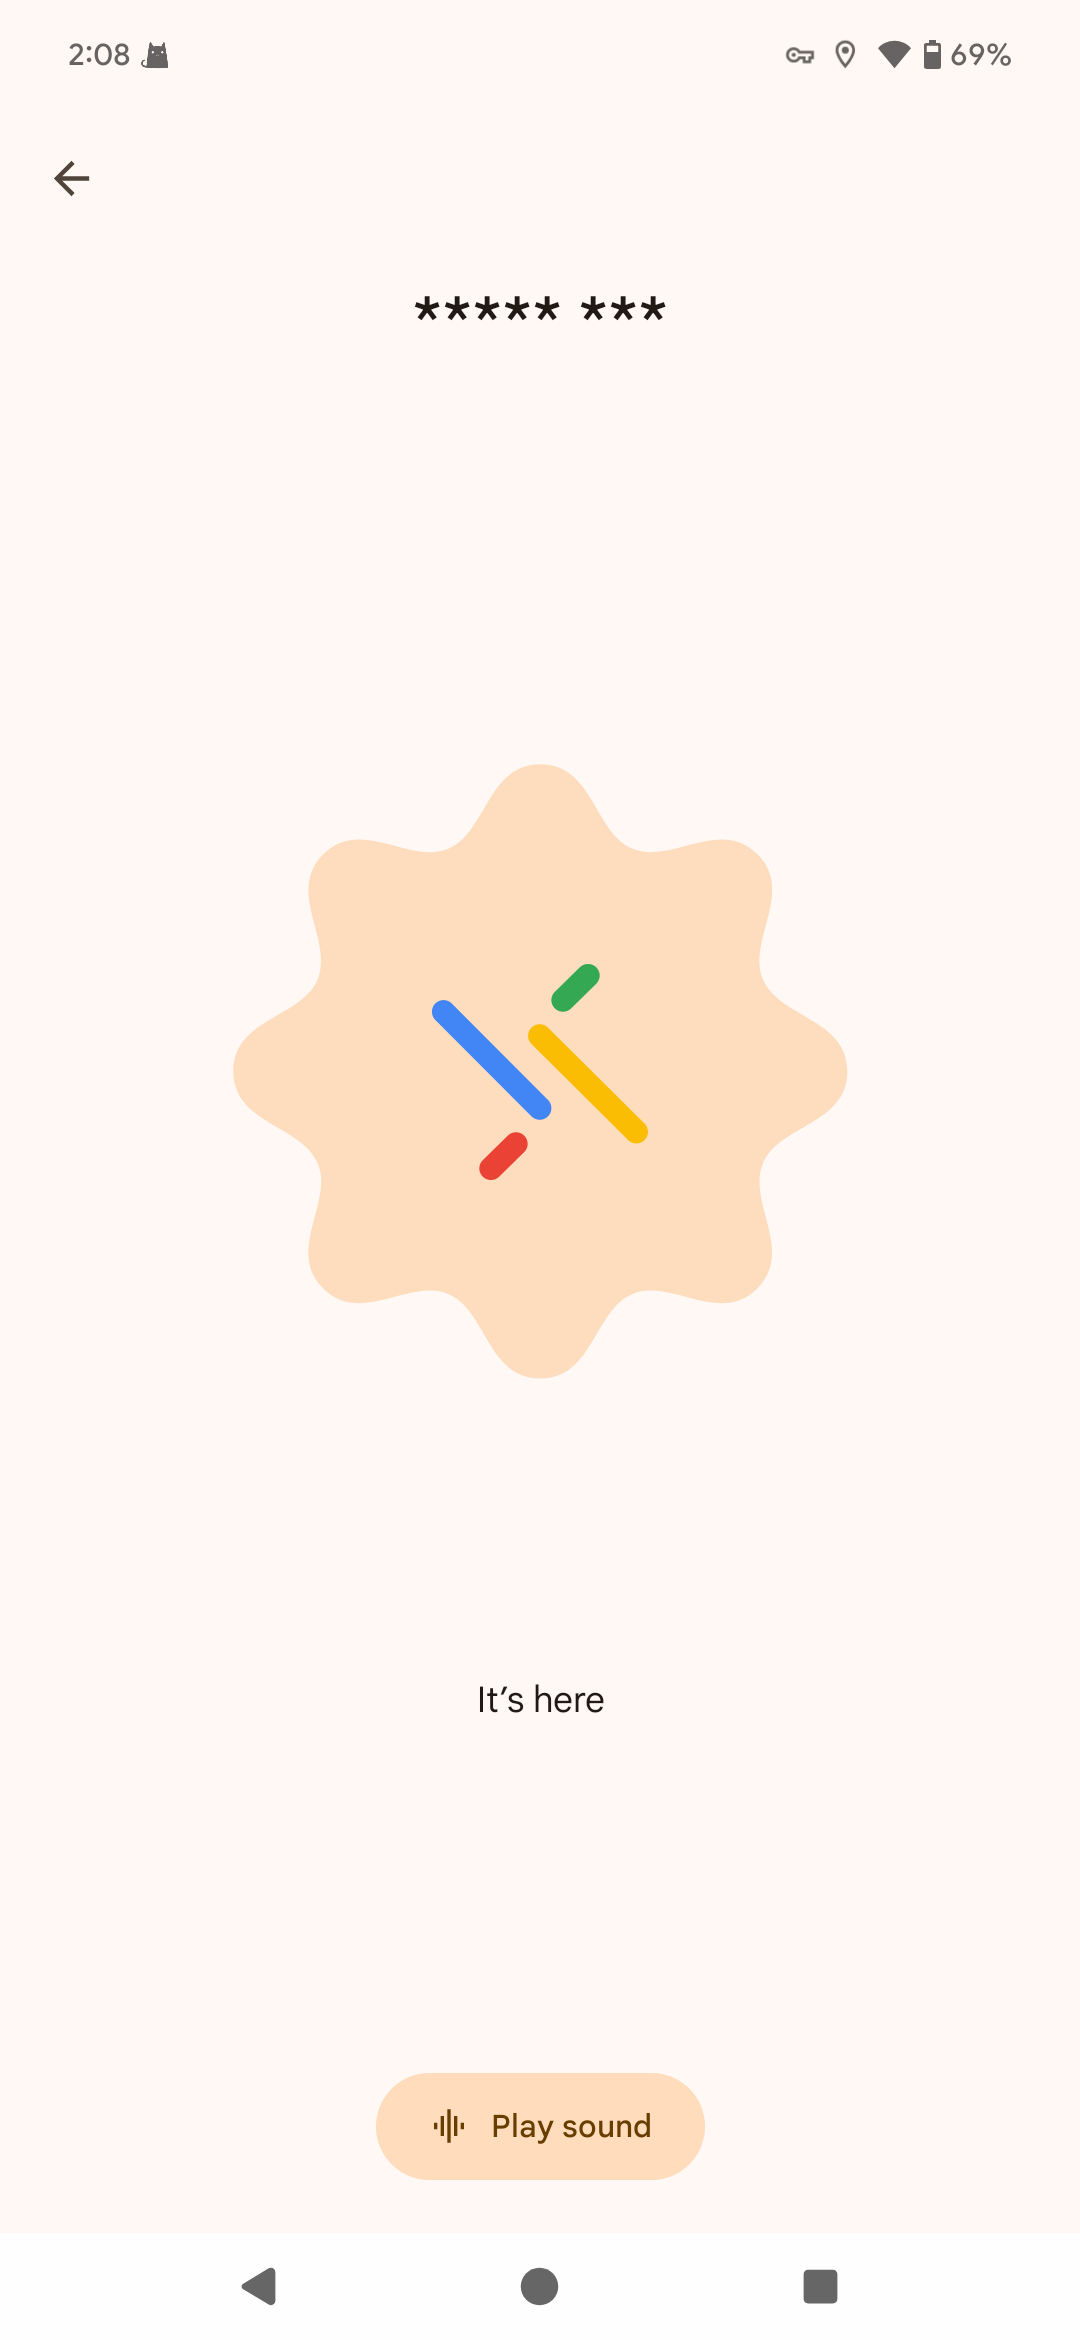
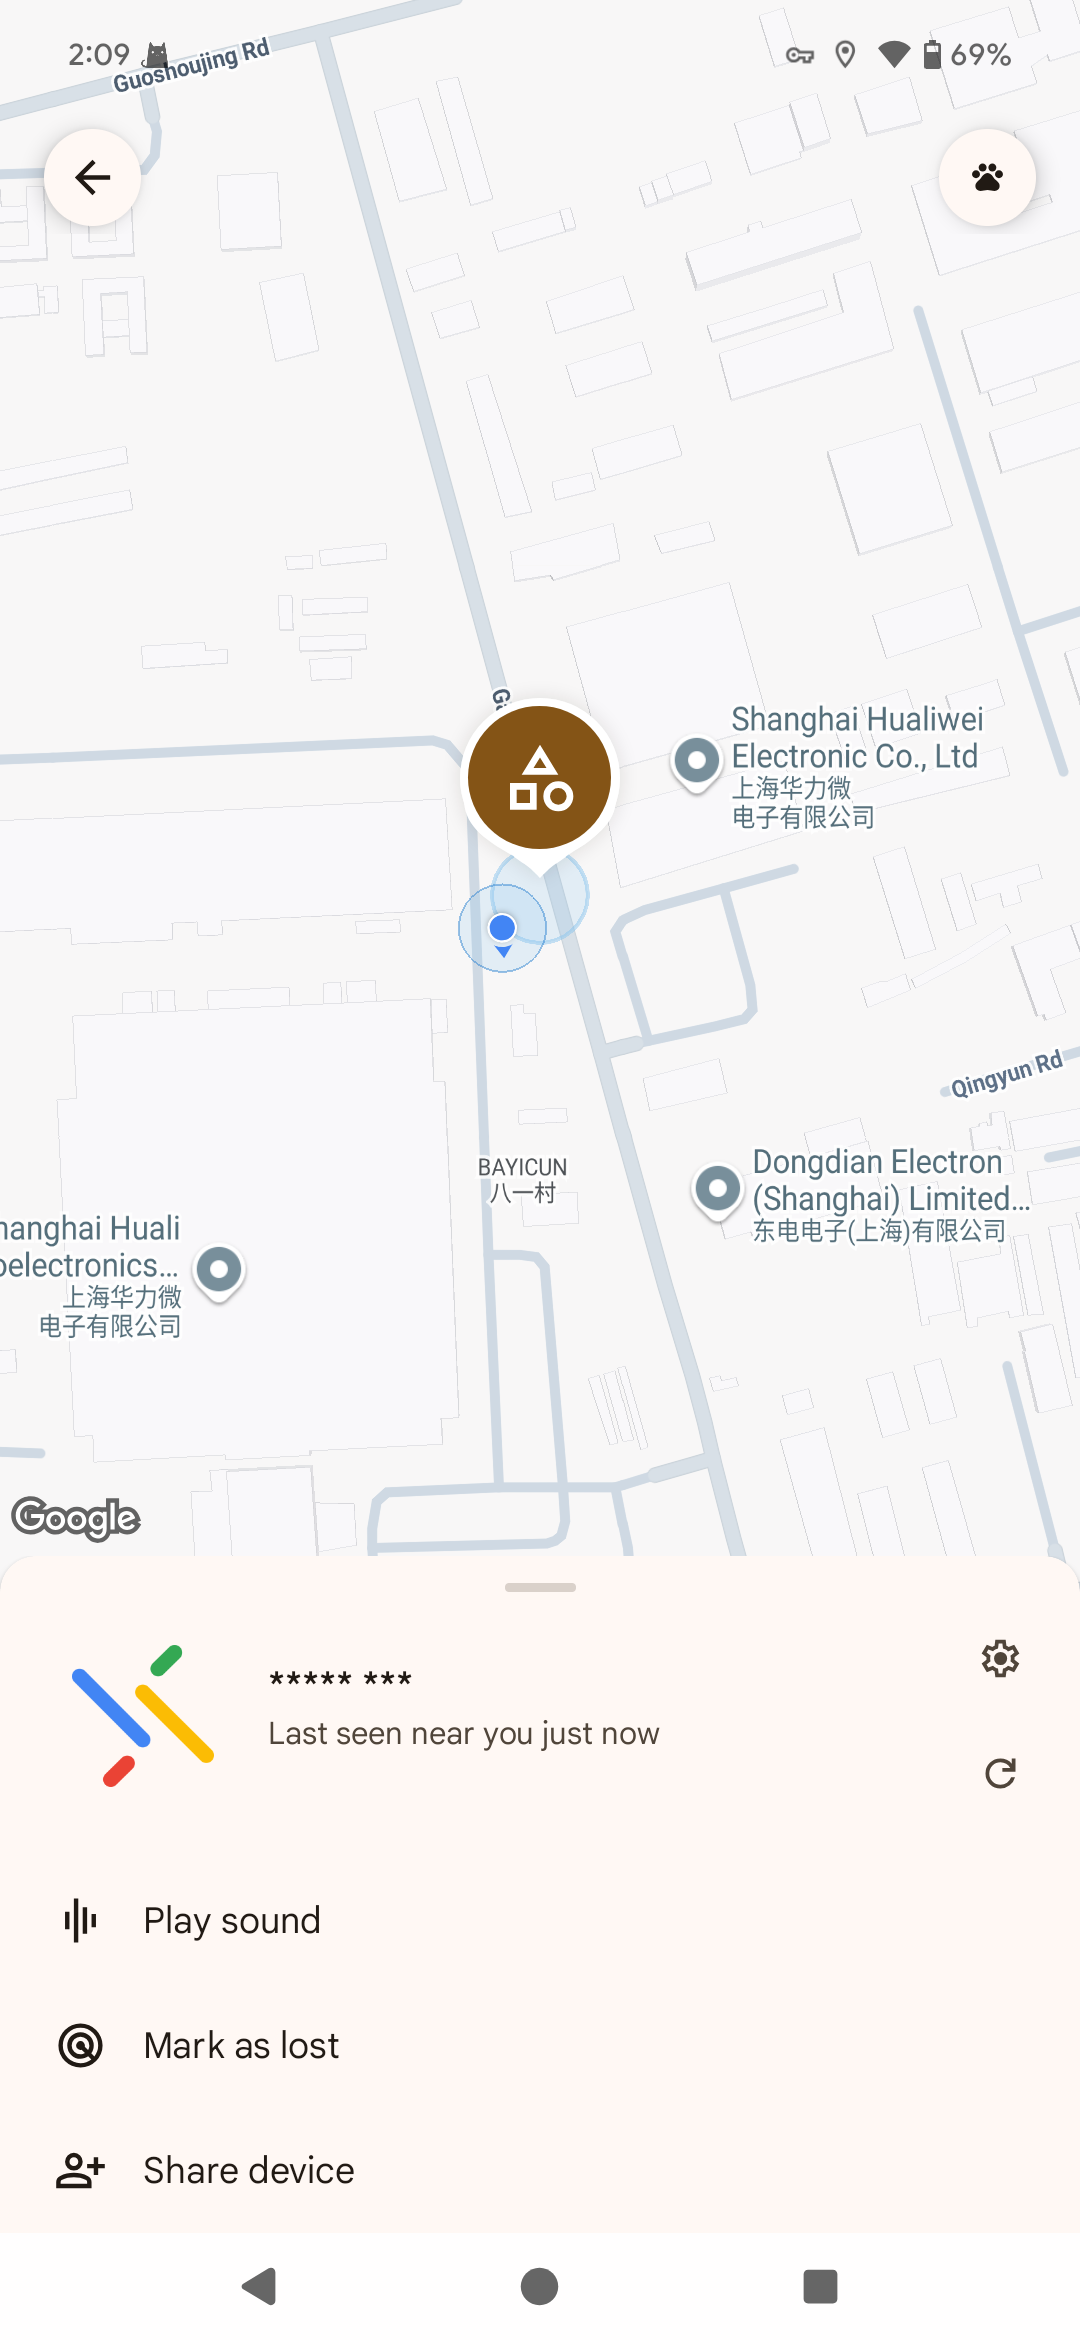
Play sound
3.Remove the binding
- Directly clear the binding on the FindMy Device
Keep pressing the button on the FindMy Device, and release the button when you hear the eighth beep, the device will be restored to factory settings, which will clear the device provisioned information with a loud beep.
- Removed on the phone
When removing in the FindMy Device app, you need to confirm that it is removed in a connected state with the tag, so that the provisioned information in the tag can be cleared synchronously, if it is forcibly removed manually, it can only be removed on the Android phone, and the provisioned information in the tag is still there, and the pairing broadcast will not be sent again, so it will not be found and pairing again.
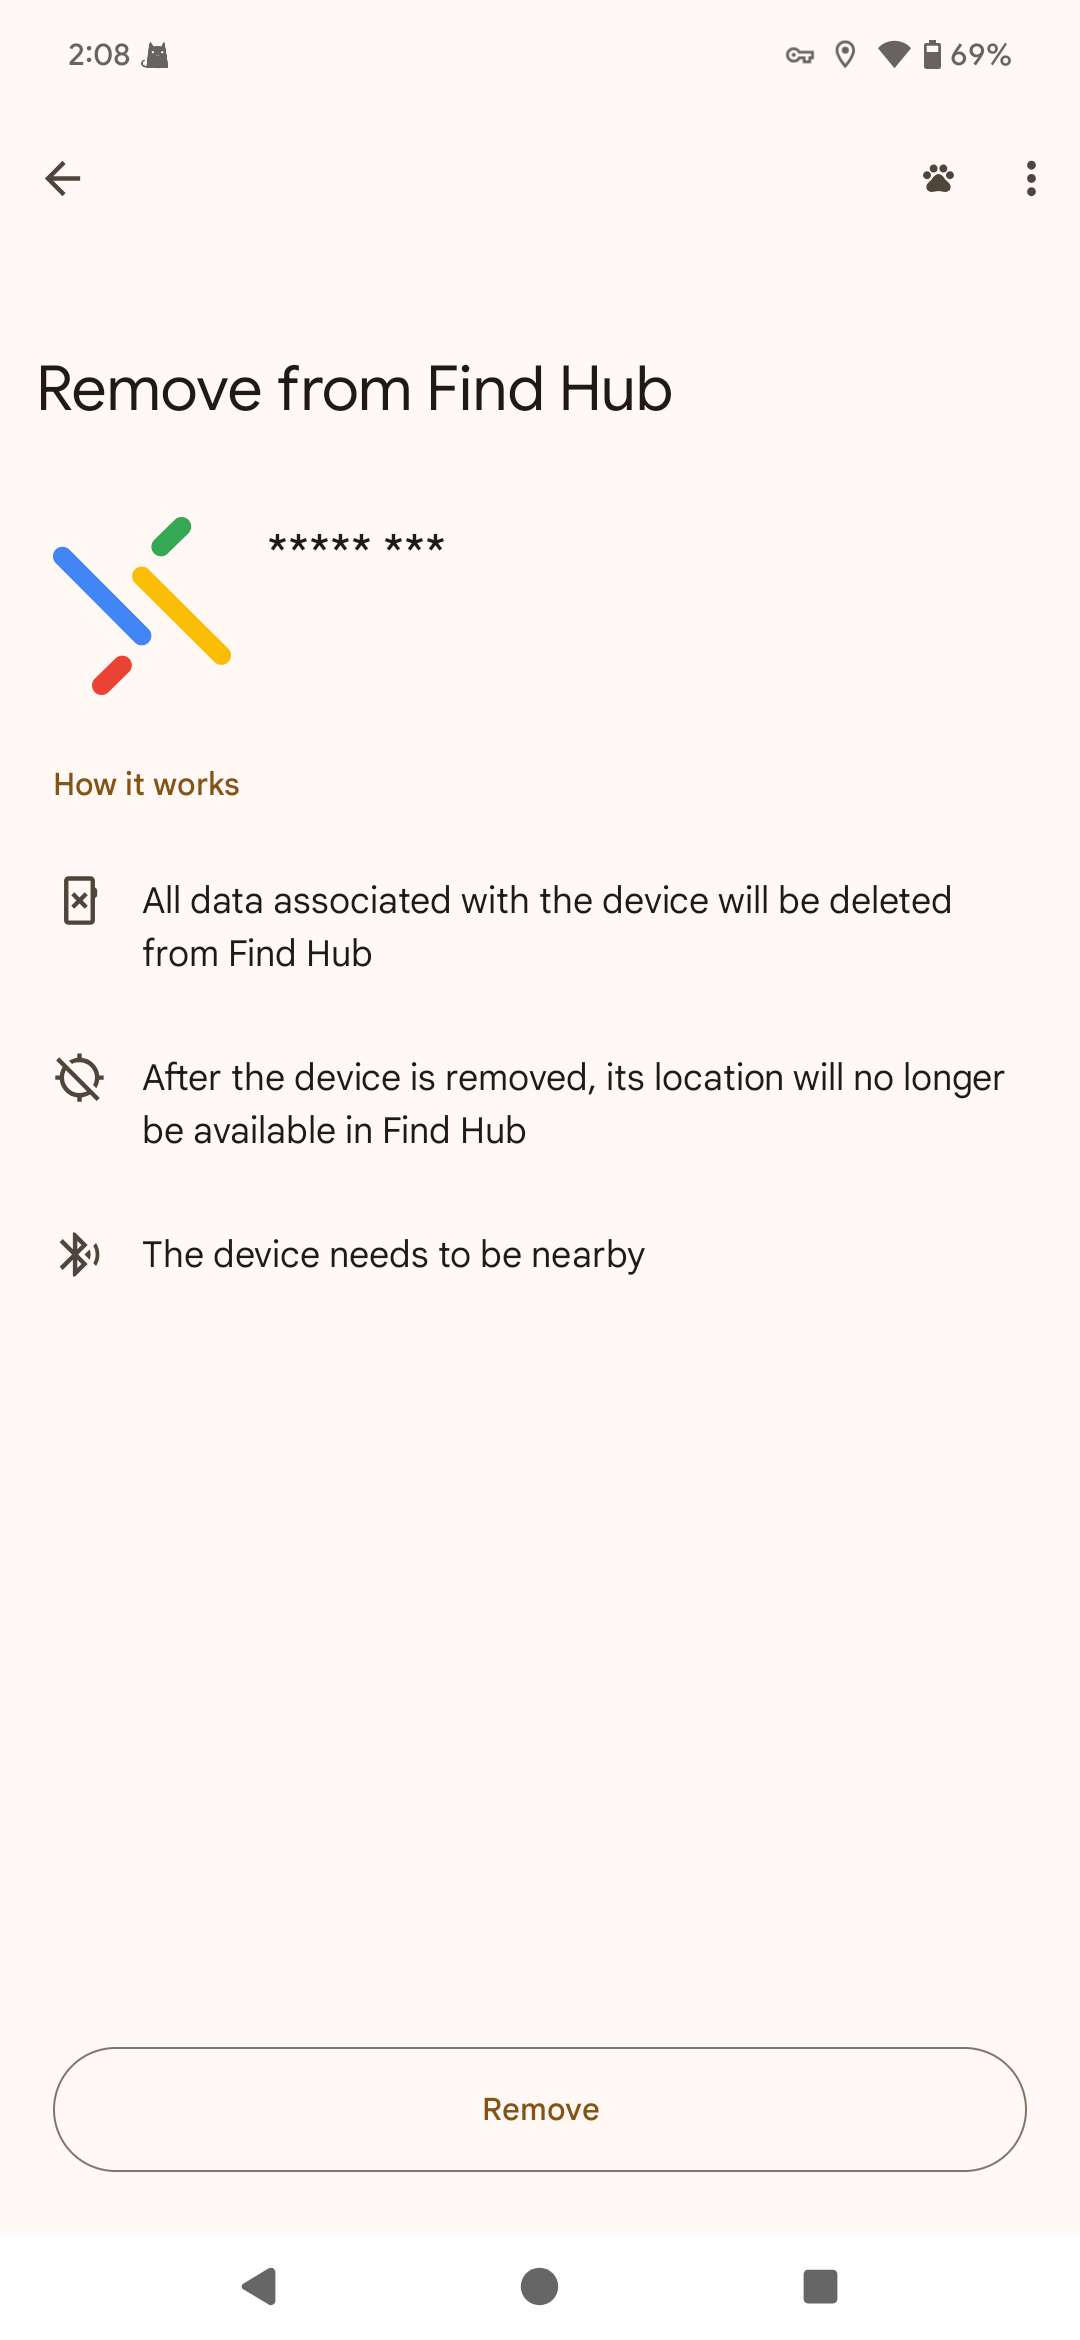
Removing
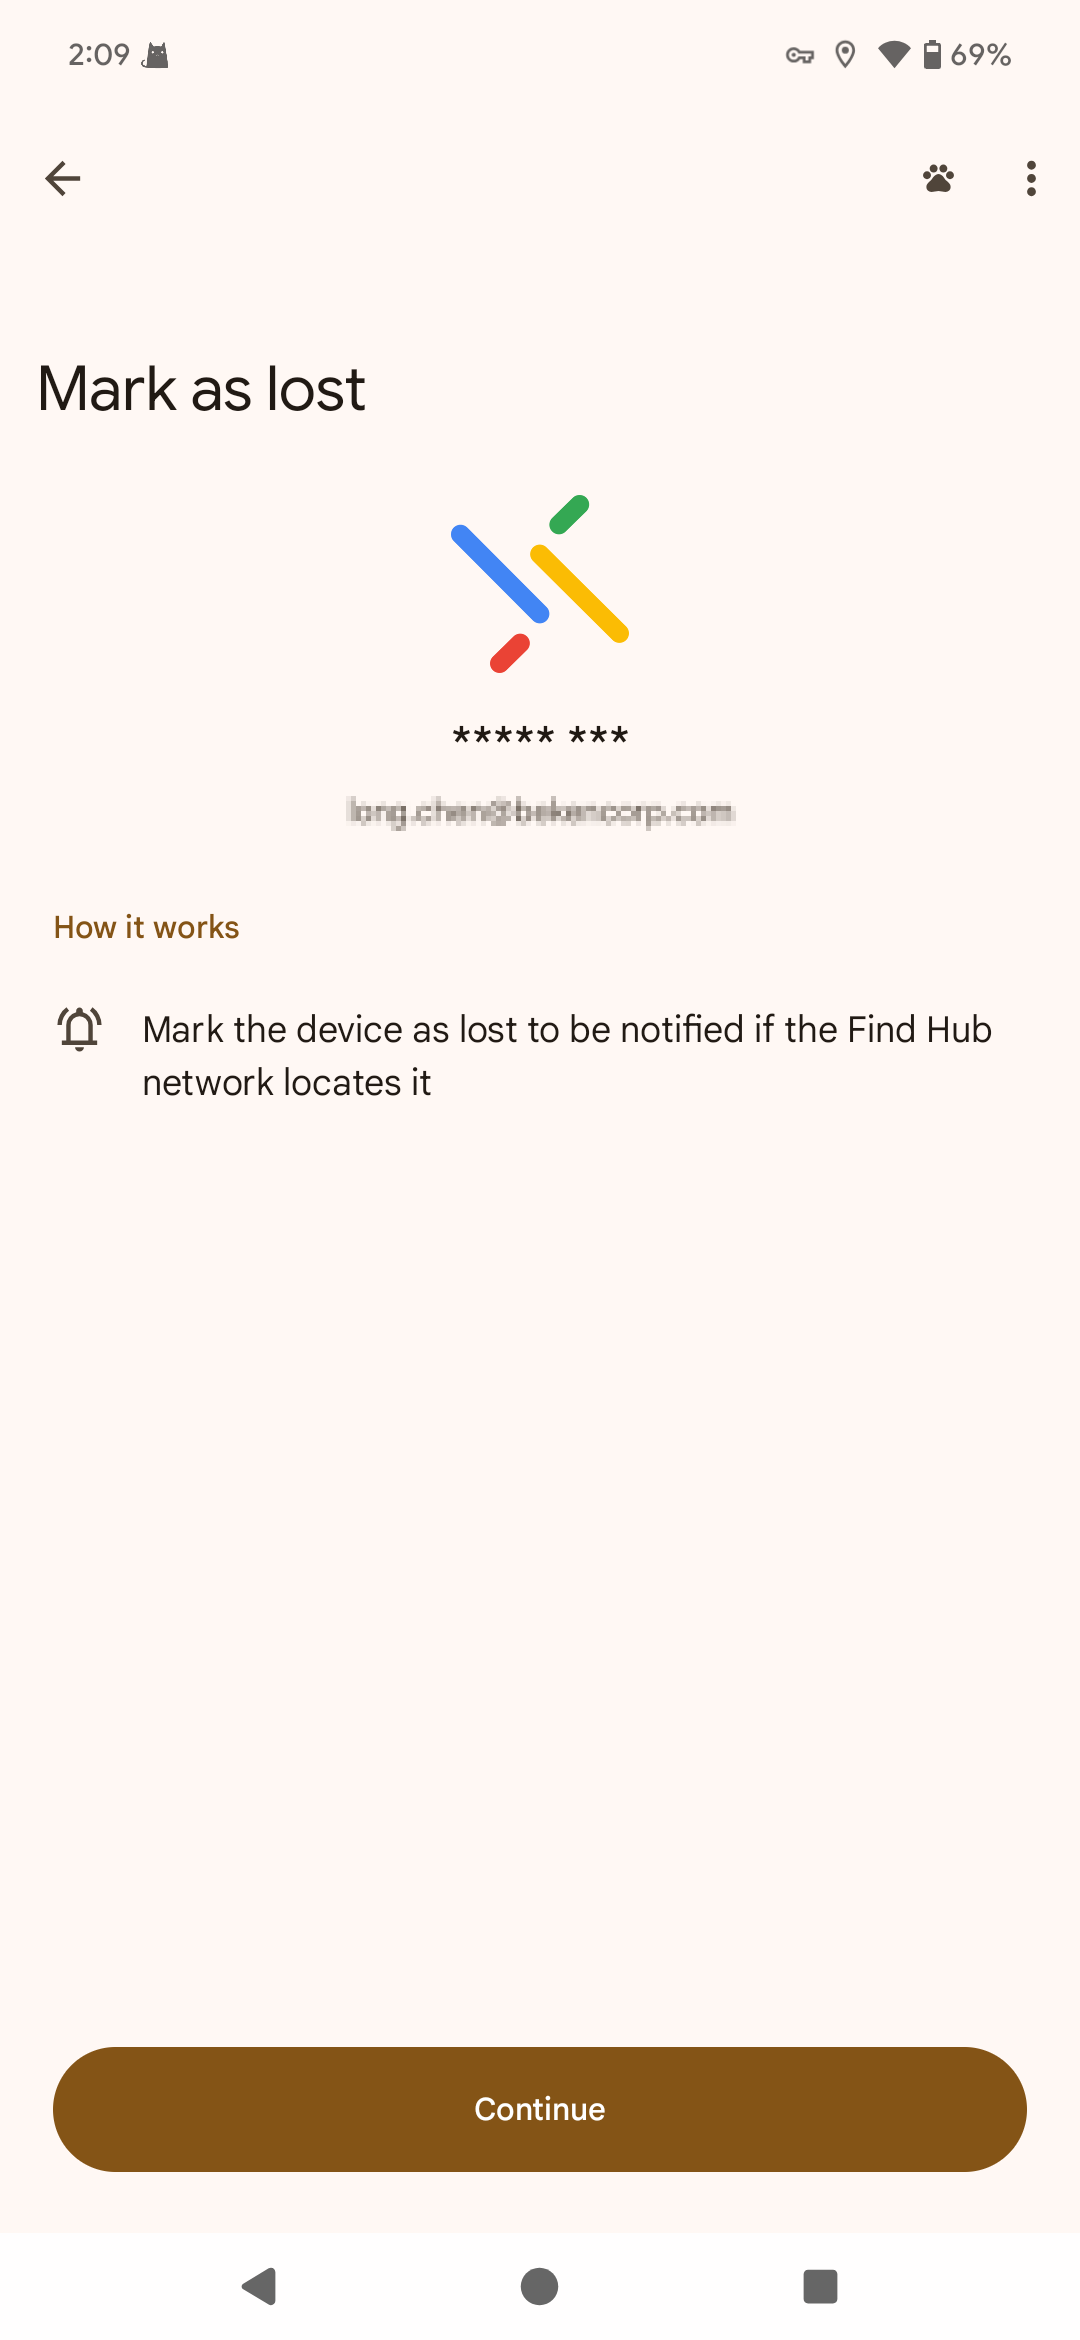
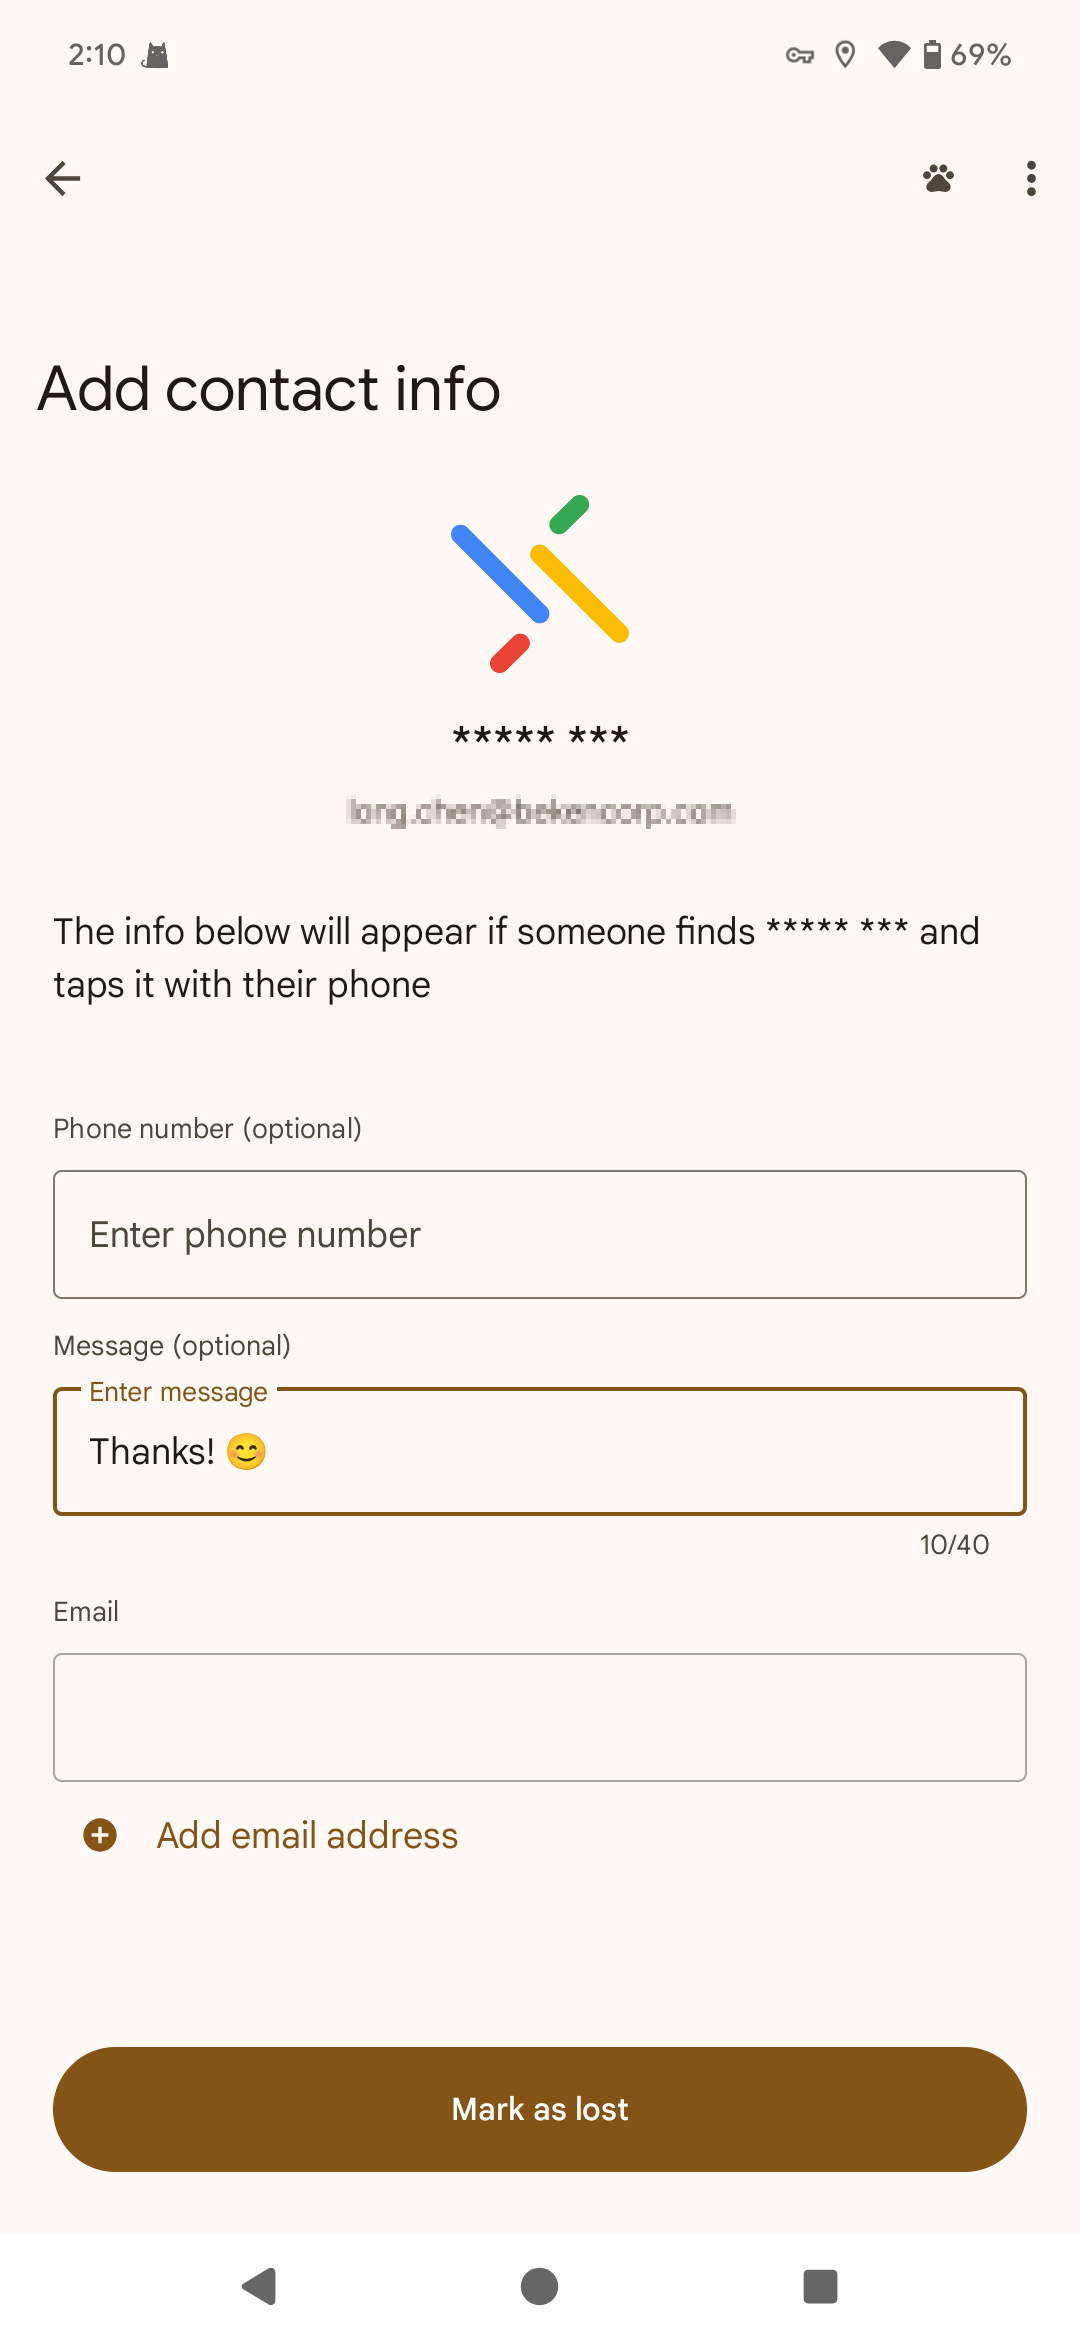
4.Mark the Device as lost
|
|
|
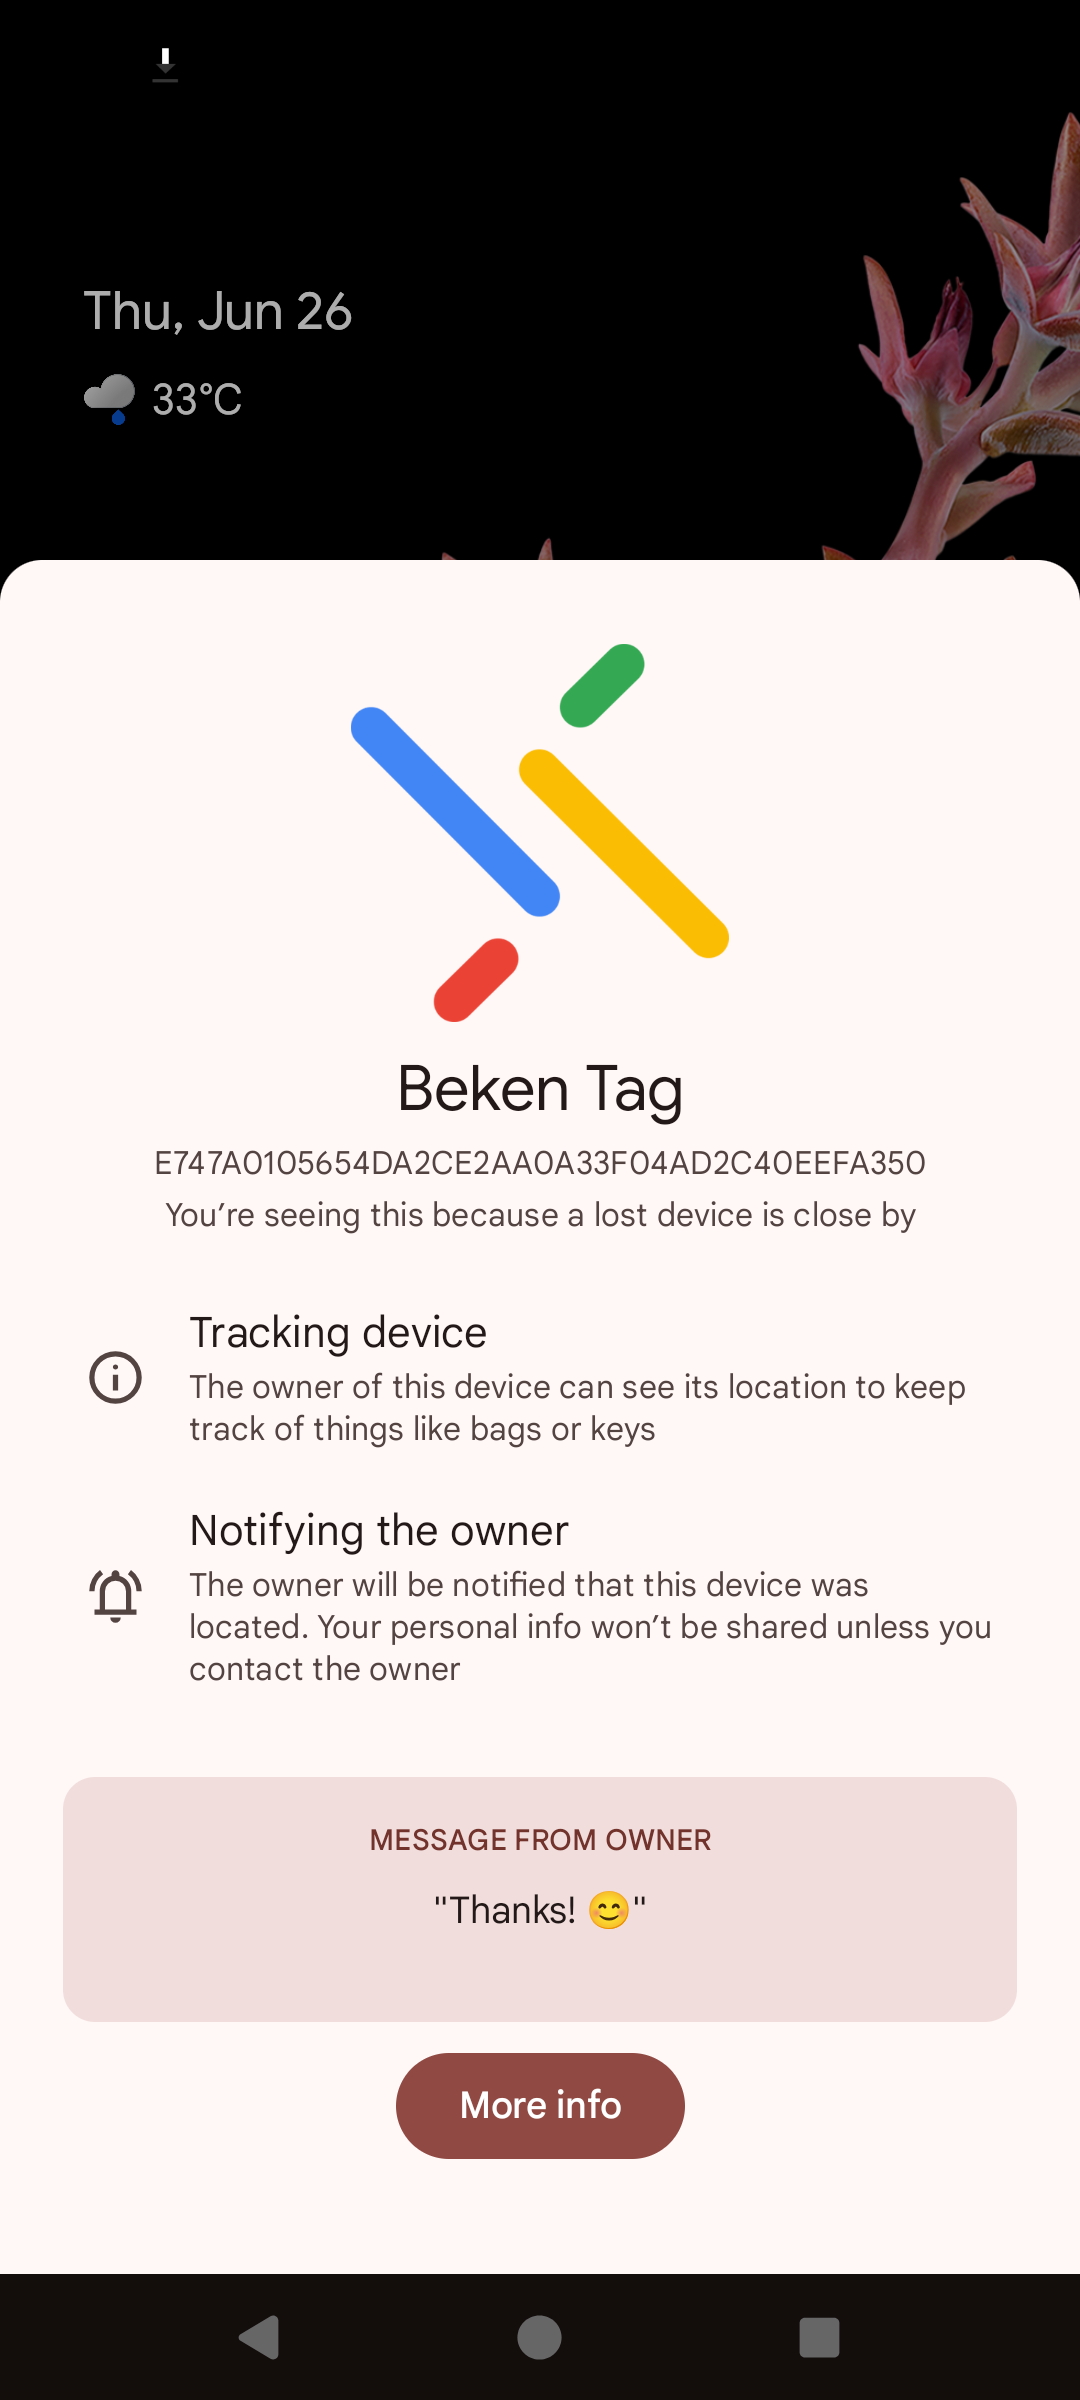
Pop up window
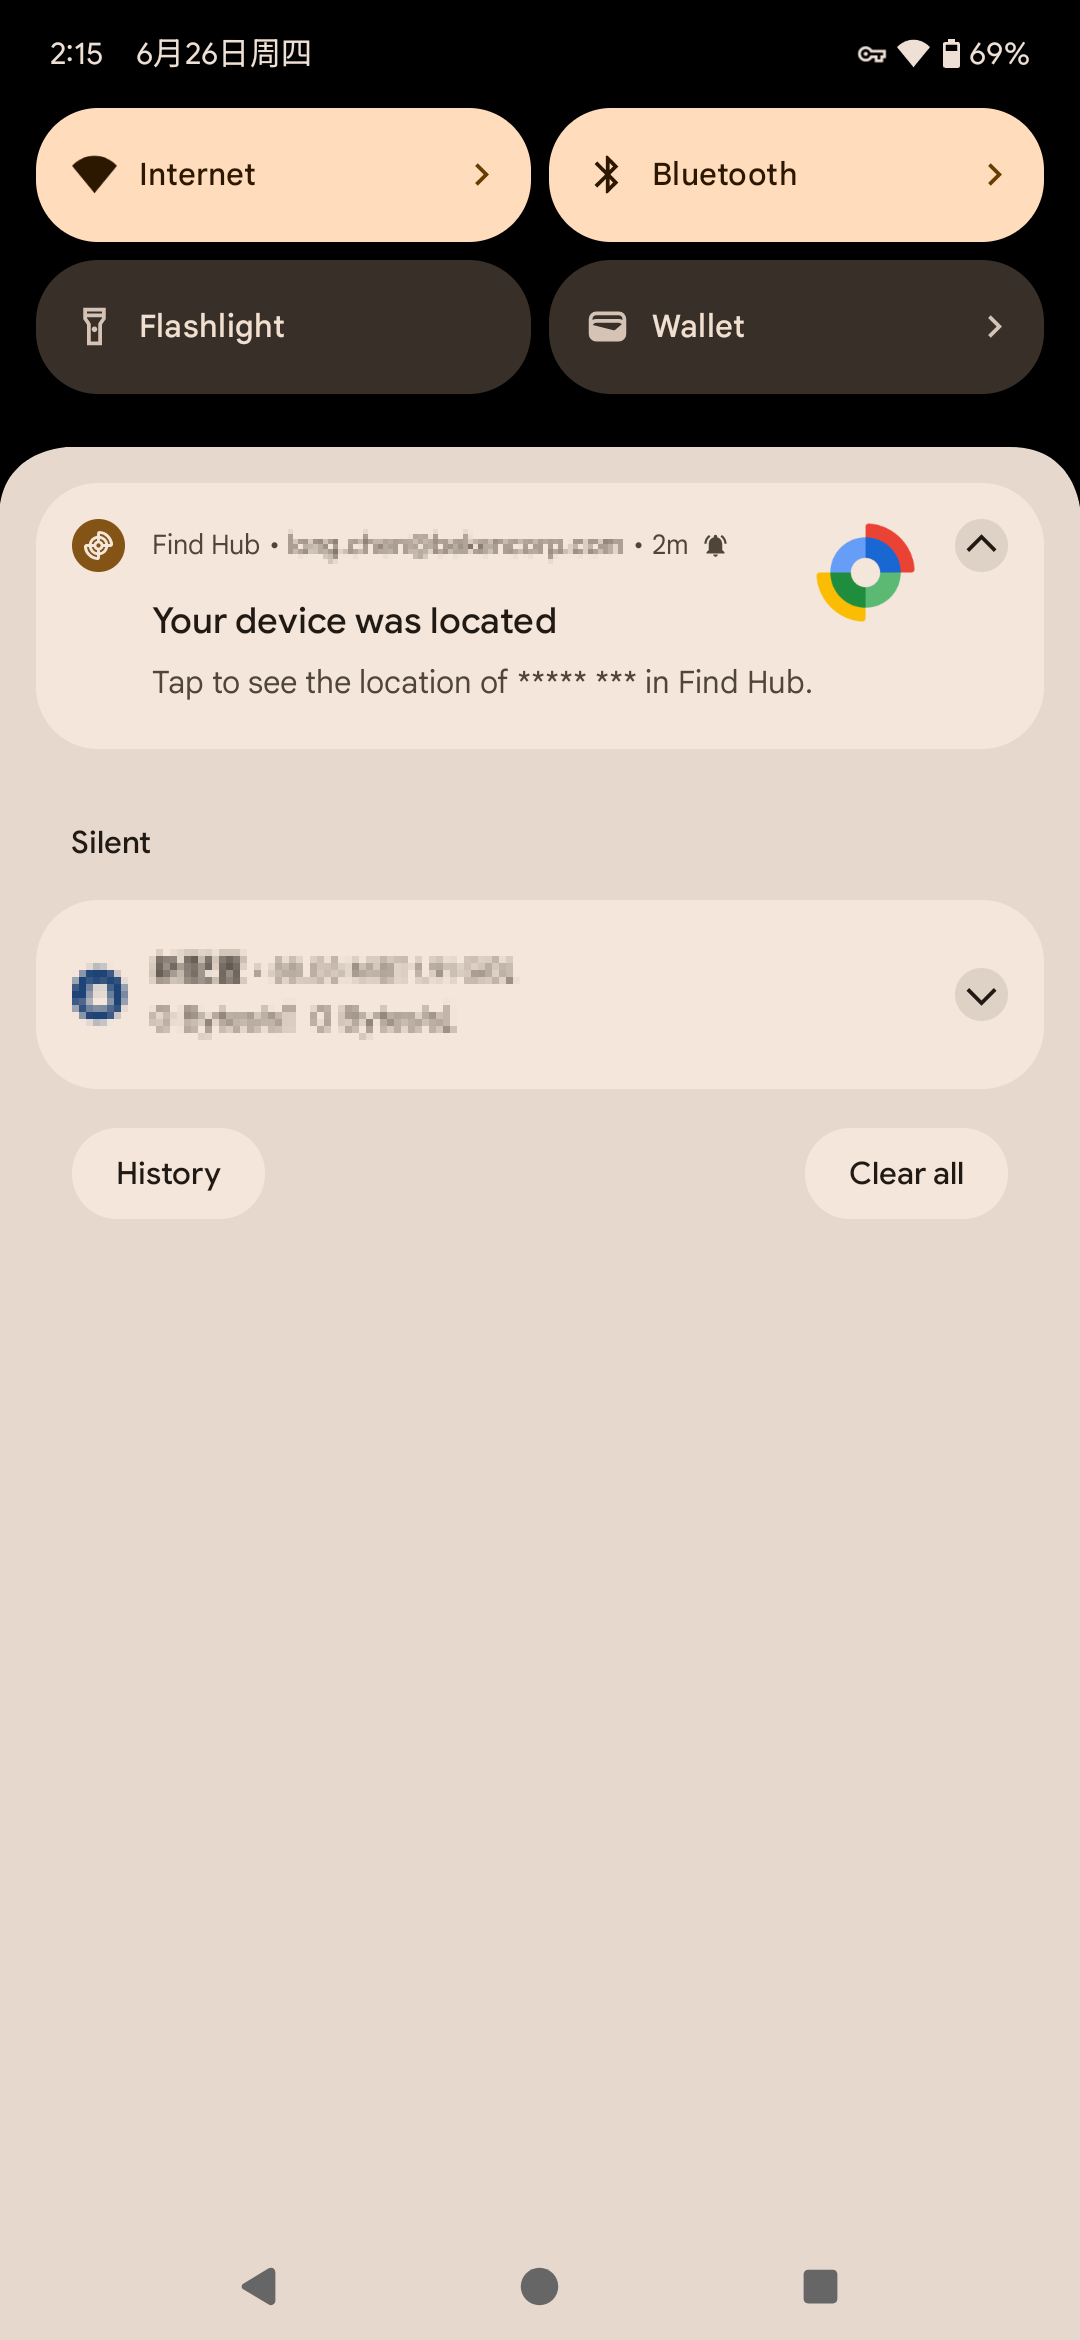
Pick up notification
Note
- About the sound of the buzzer
Turn on the pairing broadcast, beep twice, and click the button to turn on and off the pairing broadcast.
There are two beeps when binding successfully.
Removed successfully is a persistent beep~~ sound.
To Get_Identifier, keep pressing the button, and when you hear the fifth beep, release the button to enter this mode.
To delete the provisioned information, keep pressing the button, when you hear the eighth beep, release the button and the provisioned information is deleted successfully with a continuous beep~~ sound.