The MFRC522 is a highly integrated read/write IC designed for contactless communication at 13.56MHz. The MFRC522 reader supports ISO/IEC 14443 A/MIFARE and NTAG standards, with host interfaces including SPI, I2C, and UART. Currently, we use the UART protocol for communication with the MFRC522.
In general, the process can be summarized into the following parts: card detection, anti-collision, card selection, password verification, and data reading.
Card Reset Response (Card Detection): The communication protocol and data rate for M1 radio cards are predefined. When a card enters the reader’s operating range, the reader communicates with it using a specific protocol to determine if it is an M1 radio card, i.e., to verify the card type.
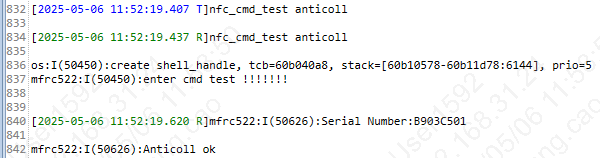
Anti-collision Mechanism: If multiple cards enter the reader’s operating range, the anti-collision mechanism selects one card for operation, while the others remain in idle mode until the next selection. This process returns the selected card’s serial number.
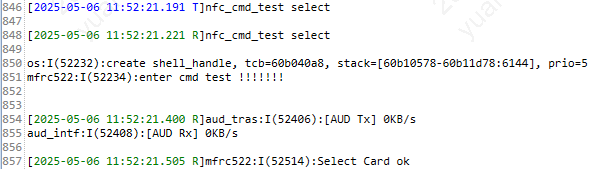
Card Selection: The selected card’s serial number is chosen, and the card’s capacity code is simultaneously returned.
Three-way Mutual Authentication: After selecting the card to be processed, the reader determines the sector to be accessed and performs a password verification for that sector. After three mutual authentications, communication can proceed using encrypted streams. If accessing another sector, another password verification must be performed.
Data Reading: This involves data communication between the MFRC522 and the M1 radio card.
The sequence of data interactions between MFRC522 and M1 cards is as follows: 1. Initialization (configure card type), 2. Card detection, 3. Anti-collision, 4. Card selection, 5. Password verification, 6. Data reading.
Using the bekengenie project as an example, this section introduces the NFC testing procedure. First, compile the bekengenie project: make bk7258 PROJECT=bekengenie. After successful compilation, burn the all-app.bin file from the build directory.
NFC Card Testing The NFC card testing can be divided into two types:
Important
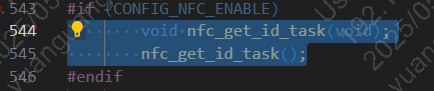
The NFC function is disabled by default. To enable it (for example, in the bekken_genie project), please go to projects/beken_genie/config/bk7258/config and set the macro CONFIG_NFC_ENABLE to ‘y’.
-1) Active Testing:The board has a task that periodically performs card detection by default;
1.1)A task is enabled by default on the board to periodically perform a card detection operation. If you do not want to run this task, you can comment out the corresponding line of code, which can be found in the following file path: projects/beken_genie/main/app_main.c
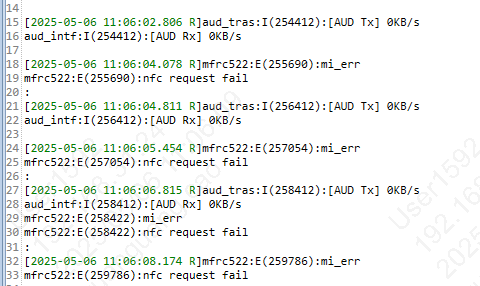
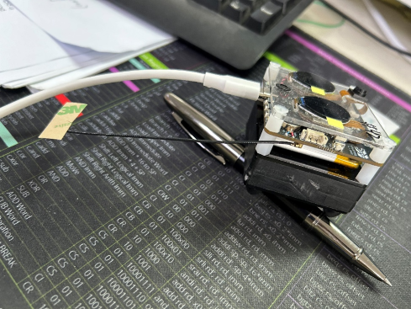
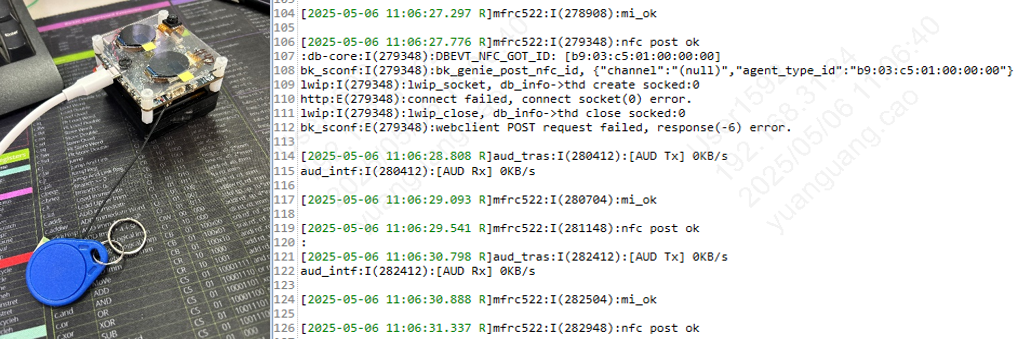
-1.3)When an NFC card is brought near the board (with the antenna installed), the card detection is completed, and it will periodically print the following log: “nfc request ok” and “nfc post ok”.
2.1)Because there is a task at the board end that periodically performs a card search operation, you need to delete this task first by sending the following command: